


Two weeks back I posted about the miniature Spelljammer ship I was building for my Dungeons and Dragons campaign. If you want to check out the initial foam-core build, which shows the process from the keel up, you can find it here.
In today’s post we’ll cover the added features; the grates, portholes, paints, and the EULA my players have to sign.
Step 1: The Grate
 Sure, there are easier ways to get flat, thin bits of paper or wood, but why take the effort to search a craft store when we can perform unnecessary surgery on our fingertips?
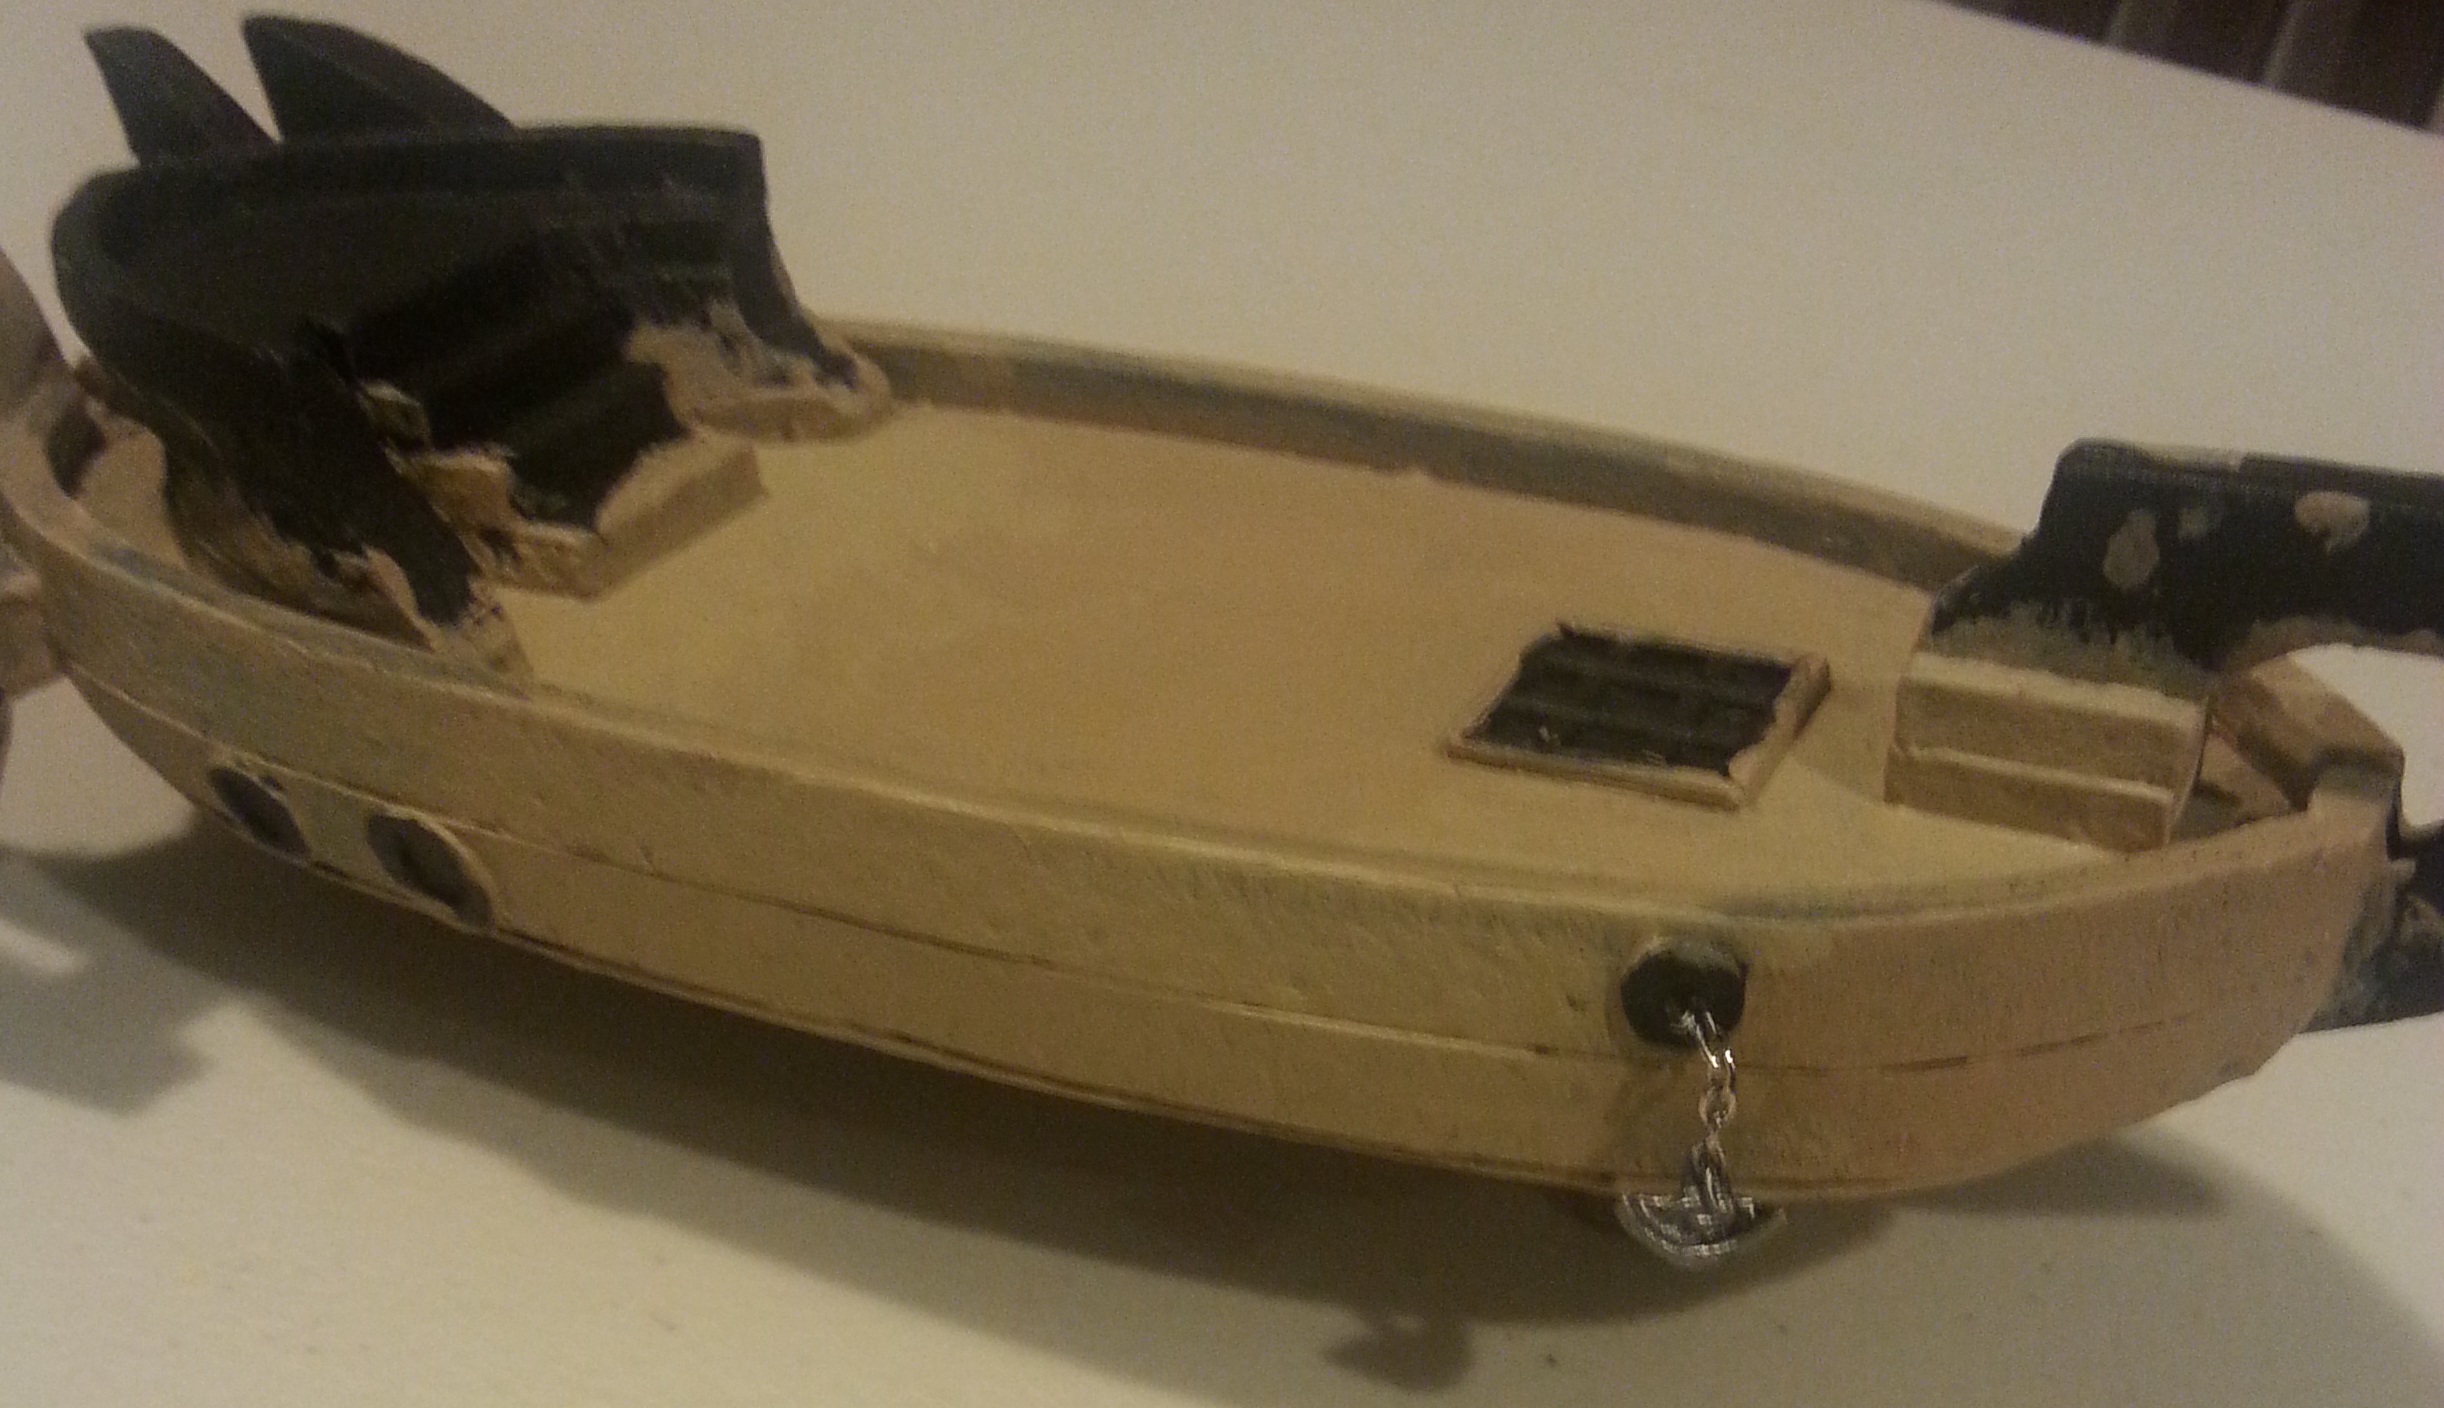
For the ship’s grate I measured out a 1-inch by 1-inch square, glued it to a cardboard backing, and filled the inside with tiny grids of flattened toothpicks. Like a window pane. The background was painted black (with the rest of the ship’s initial coat) and secured with standard Elmer’s white glue. If you end up with minor gaps between the toothpicks don’t worry. A heavy paint will fill that in.
 Step 2: The Portholes
Because the initial planks were measured to 1cm width I could have stacked a few 3-ring paper reinforcers onto the hull and painted over. But because I’m impatient and I have the budget of a toddler with a gambling problem, I cut my portholes out of cardboard.
 Note: You will have to re-edge and re-cut these many times before they look vaguely circular. Or just, you know, have steadier hands than me.
 Step 3: The Anchor
Given the shallow bottom of my ship and the overall ‘pointed’ shapes, I went with a wedge anchor. Again, I used cardboard, Elmer’s glue, and salty tears.

I then attached a small segment of cheap jewelry chain, available at any craft store. Here it is on 1-inch game grid, for scale.

I re-glued the anchor’s stem to the chain several times, for added strength and to hide where the chain should be welded or looped to the stem. Then I glue the loose end into the front port, which was cut smaller than the other portholes for this purpose.

Step 4: Paint
For the hull I chose a base coat of light tan. I knew I wanted a light cherrywood deck and hull with a slightly darker red trim. To achieve this I used a thin terra-cotta paint/highlight by Game Color.
 Note: It’s very important to have light, consistent brush-strokes when you’re using a thin paint to build wood grain. Go slow. Paint in one direction for every plank. And don’t go over your old brush strokes too much.
 The tan really makes the ship look like clay in this light. Feel free to imagine me and Patrick Swayze banging this out on a pottery wheel.

Finally we get to the rear castle, the portholes, and the trim. Remember; metallic paints are usually thicker, so they can really fill in gaps and blemishes.

Lastly, because this is a magic ship, I used a silver-metallic paint by Game Color to add magic symbols to the captain’s ‘ring’ and the larger fins. The symbols themselves were taken from the mumbo-jumbo language I filled my grimoire with a few months back.


Volla! The HMS Fishgun is ready to set sail. All for about 3 bucks in foamcore, paint, and white glue.
